The Quick Trick for Softening Canned Chickpeas for Silky-Smooth Hummus, Stews, and More
Canned chickpeas and beans are usually a bit too firm for some preparations, like dips and braises; this rapid-tenderization method is the perfect fix.
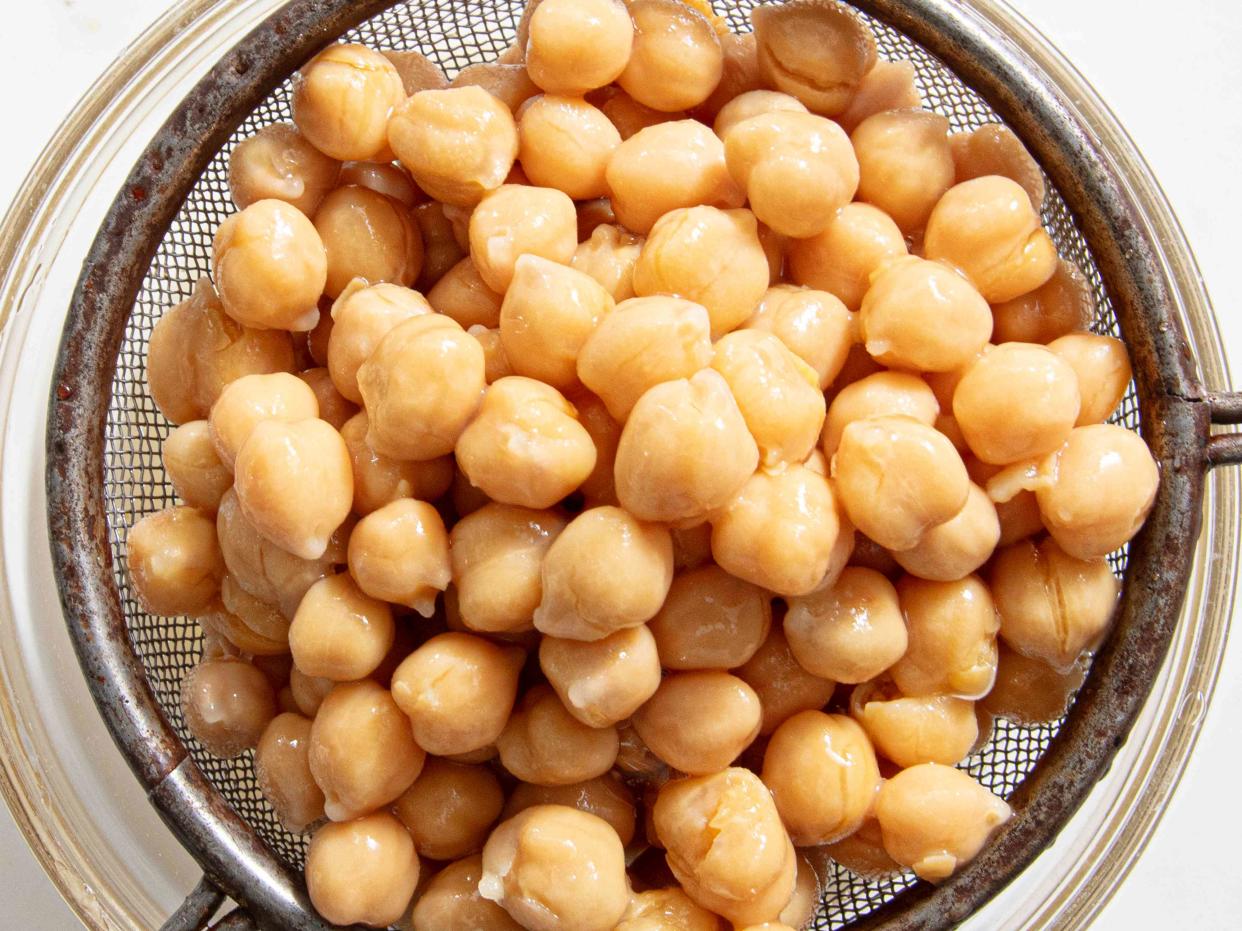
Serious Eats / Amanda Suarez
Canned beans are high on my list of useful food innovations. You don't need to remember to soak dried beans overnight or spend a long time cooking them on a busy weekday—just pop the top and they're ready to go. Regardless of the type—whether soft like northern white beans or firm like kidney beans—canned beans are almost always perfectly cooked and work well in many recipes. For example, you can drain and then dry them in the oven for black bean burger patties. You can marinate them in vinaigrettes and flavorings to quickly create bean salads. And you can process them into dips and spreads.
However, some recipes require really soft beans—softer than what comes out of the can. Try making hummus from canned chickpeas and you'll likely end up with something tasty but slightly grainy, not with the silky smoothness of the best hummus. Similarly, mashing canned pinto beans won't give you the velvety, creamy texture of great frijoles refritos.
Many chickpea braises and stews are also at their best only when the chickpea are so tender that they collapse with the slightest pressure. For a good chana masala, for instance, the chickpeas should be soft enough to squish easily between the folds of warm, spongy naan.
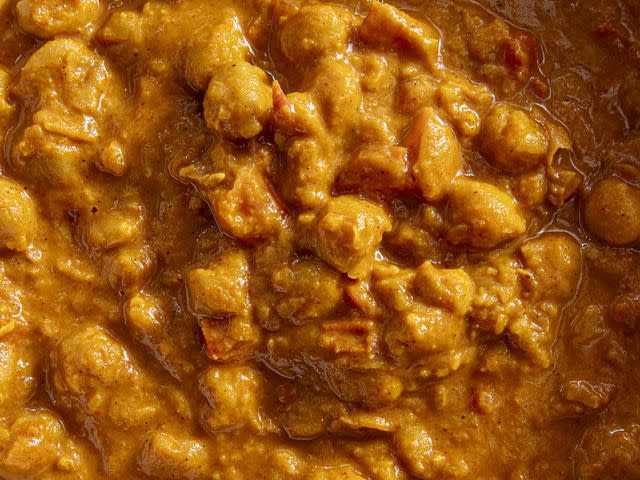
Serious Eats / Amanda Suarez
When making chickpeas from scratch, Indians often use pressure cookers to achieve the desired softness in a reasonable amount of time. But what if you want to take advantage of the convenience of canned chickpeas? They're cooked, but resist being smushed when pressed, which means you need to do something to them. Luckily, the solution—briefly simmering the canned chickpeas or other beans with baking soda—is quick enough to still offer the convenience of canned, while yielding legumes that are properly softened.
Canned Chickpeas and the Calcium Chloride Effect
Just about any canned chickpea would benefit with extra softening when destined for recipes like purées and braises where an extra-soft texture is desired, but some require an intervention more than others. That's because not all canned beans are prepared the same and some are processed to hold their shape too well.
Canned bean manufacturers aim to sell beans with minimal splits and blowouts, as splits in beans look unattractive and cause starch to leak out. To ensure sufficient firmness, they often add calcium chloride during processing. You can check the can's ingredients list to see if it was used in your can of beans or not.
I checked five brands of canned beans and found that those with calcium chloride had much firmer beans with a higher resistance to chewing. While the texture of each brand varied slightly, there was a noticeable increase in hardness when calcium chloride was used.
Calcium chloride prevents beans from getting mushy by reacting with the pectin in the beans. When heated, the pectin in the chickpea cell walls absorbs water and expands, forming cross-links with the dissolved calcium ions. This creates a stable, heat-resistant network, making the seed coats firmer, preventing them from breaking open.
There are some ways to deal with the extra firmness caused by calcium chloride, but before that, let us talk about the canning liquid.
How to Soften Firm Canned Chickpeas and Other Beans
As mentioned above, any canned bean can benefit from a softening step if it's going into a dish where extremely silky purées or tender braises are the goal, but it's particularly important when using canned beans that have been treated with calcium chloride.
Baking Soda
One of the best ways to rapidly soften canned beans lies in the properties of baking soda. The baking soda replaces stiff calcium ions in the beans with more flexible sodium ions and creates an alkaline environment that breaks down the glycosidic bonds holding the bean's pectin molecules together, resulting in the desired softness.

Serious Eats / Amanda Suarez
You don't need much, just a half teaspoon of baking soda for every 1 1/2 cups of beans (this is the typical yield of a 15-ounce can). The longer you boil the beans with baking soda, the more it breaks them down. After five minutes, the beans have begun to absorb the baking soda. Around seven minutes, you get a soft, swollen bean, with skins that are softened in a wonderful way, providing a seamless texture when you bite into them.
Beyond seven or eight minutes and the skins begin to separate as the insides start to soften and then collapse. By the 20-minute mark, the baking soda begins to disintegrate the bean structure, with many bits sticking to the surface of the saucepan.
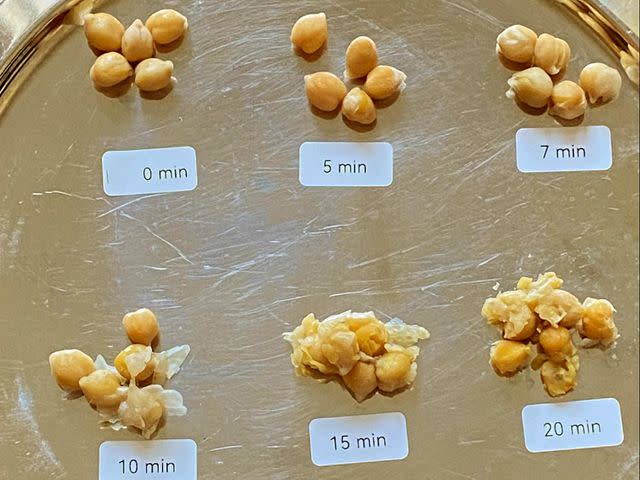
Serious Eats / Swetha Sivakumar
The downside of this baking soda technique is that the boiling liquid tastes a bit soapy and bitter, and this taste can transfer to any dish in which the cooking liquid is used. I therefore recommend draining the canned beans first, saving the canning liquid, and simmering the beans with baking soda and plain water. You can then drain and discard the baking soda liquid and return the beans to their caning liquid along with any additional liquid needed for your recipe.
In practice, the best way to do this is:
Combine the drained canned beans with enough liquid to cover in a small saucepan (reserve liquids from can if they are needed in your recipe).
Add 1/2 teaspoon baking soda for every 15-ounce can drained beans (1 1/2 cups).
Bring to a boil, then check every couple of minutes by removing a bean from the pot with a slotted spoon and (when it's cool enough to handle) squeezing it between your fingers to determine if it is sufficiently tender.
Remove from heat, drain, and discard baking soda–tinged cooking liquid (recombine chickpeas with reserved canned bean liquid, if desired).
One final note: Baking soda can change the bean's color, making it darker due to its effect on the anthocyanins in colored beans like pinto and kidney beans.
Pressure Cooker
An alternative to baking soda is to use a pressure cooker to further tenderize canned beans. Simply empty the can into the cooker and set it—no stirring or babysitting required. It's important to note, however, that there isn't the same time savings here: The pressure cooker takes about ten minutes to build pressure, five minutes to soften the beans, and ten minutes beyond that for the pressure to decrease. That's almost a half-hour of cooking time added to your recipe, and not all that much shorter than cooking dried beans from scratch in a pressure cooker.
That said, you can take advantage of the pressure cooker by adding aromatics to the bean liquid, improving their flavor. Even with just five minutes of pressure cooking and a few spices like a bay leaf, cinnamon stick, cloves, and cardamom tossed in, the canned bean liquid and beans become wonderfully aromatic.
Pressure Cooker + Baking Soda?
You may be wondering if there's an argument for combining the powers of baking soda and a pressure cooker for softening canned beans. I tested it and concluded that it's generally not a good idea. The results were very squishy beans that quickly disintegrate into a sludge. There may be some instances, like bean purées, where this extreme softness wouldn't be a huge problem, but mostly I think it's best to choose one method or the other, not both.
Read the original article on Serious Eats.


